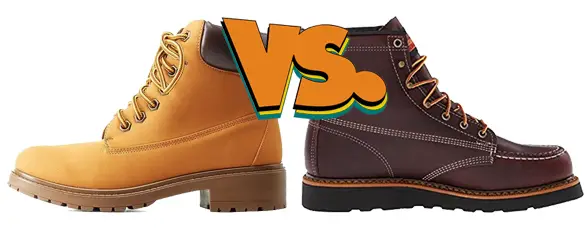
Whether you work in the construction industry or in a busy kitchen, your work boots are bound to get a few scratches and scuffs.
Work sites are filled with rough surfaces that can damage the leather uppers of your boots.
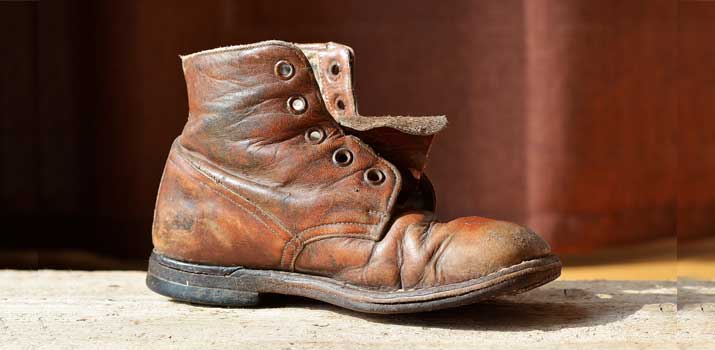
While your footwear is designed to take that damage to keep you safe, those scuff marks do take a toll over time.
Scuff marks can weaken the leather and put your safety at risk. Not only that, but scuff marks just aren’t that appealing to look at.
Before you trade in your trusty work boots for another pair, give these repair methods a try. They can restore the integrity and strength of the leather material to improve durability.
These simple repair techniques can also revive the look of your boots, making those ugly scuff marks a thing of the past.
Fixing Scuffed Work Boots
Preparation
Before you start the repair process, it’s important that you adequately prepare your boots. Scuff marks and scratches break up the smooth surface of the leather. They create small pits where dirt and grime can easily stick.
As dirt accumulates in the cavity, it will drive the surface of the leather further apart. Eventually, the leather will give and a large crack will form.
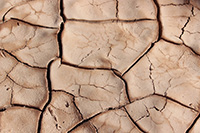
To stop this from happening, you need to get the job done as soon as possible. Not only that, but you need to make sure that the leather material is completely free of dirt.
Use some warm water, soap, and a brush with soft bristles. If you’re having difficulties getting rid of dirt within the scratch, stuff your boots with some newspapers to open them up a bit.
Once they’re clean, remove the newspapers and let them dry completely before moving on.
To make sure that the repair work is seamless and smooth, stuff the boots with a towel or newspaper. It’s important that you don’t overstuff the boots.
The goal is not to open up the scratches, but to simulate the shape the leather takes on when you’re wearing the boots.
Getting Rid of Small Scuffs
This method is effective on light scratches that only penetrate the outermost layer of the leather. These types of scuffs are minute and relatively easy to get rid of.
While it does take a while to see results, the technique is easy on the boots and won’t cause any lasting damage. All you’ll need is a soft cloth and some vinegar or olive oil.
Simply dab the liquid of your choice onto the cloth and apply it to the scuffed leather. Rub it onto the affected area using a circular motion. Continue to massage the liquid into the leather for a few minutes and leave the boots alone for 24 hours.
Don’t wipe up any excess vinegar or olive oil. During the next 24 hours, the liquid will seep into the leather.
The vinegar or olive oil will cause the leather to swell up a bit. The swollen leather will make the scuff marks less noticeable because the cavity shrinks in the process.
If you’re in a pinch for time, you can speed up the soaking process by placing a thick towel and hot iron onto the boot for a few moments.
Dealing with Deep Scratches and Cracks in Work Boots
Deep scuffs require a bit more attention than simply applying vinegar or oil. However, this process can help to improve the overall strength of the fabric.
Rather than masking the pits in the leather, you’ll be actively repairing them.
With this method, the cavity created by the scratch will be closed to create a smooth surface. To do this, you’ll need strong super glue.
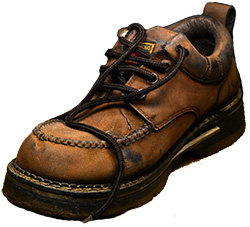
Go with a clear super glue or an option that’s tinted to the color of your boots. Using a toothpick or needle, fill in the scratches with the glue.
If you’re tackling a significant tear, apply the glue to both sides of the torn leather and close the gap.
It’s important that you avoid getting glue anywhere that’s not a scratch. Super glue is very hard to remove and may cause damage. Once the scratch is filled with the bonding agent, use a dry paper towel to soak up any excess.
This simple process alone will do wonders for your boot. The appearance of the scratches will diminish. The only remnants of a scratch you’ll see is a fine line.
If that’s adequate for you, the process is finished. However, if you want to improve the look of the leather even further, you can use sandpaper.
Right after you’ve gotten rid of any extra glue on the scratch, sand down the area. You should use a fine-grit sandpaper on the affected area only. Rather than using a circular motion, go with the direction of the scratch.
The sanding process does a couple of things. It helps to smooth out the glue to ensure that the surface will be free of bumps once it’s dry. It also creates fine leather dust.
The dust will fill the scratches further and stick to the wet glue. When you’re done, you’ll create a smooth and color-matched surface.
Finishing Touches
Regardless of whether you’re repairing light scuffs or deep scratches, there are a few steps you need to take to finish off the repair job. These finishing touches will blend the work in further and help to keep your boots protected.
The first step is to apply a leather polish.
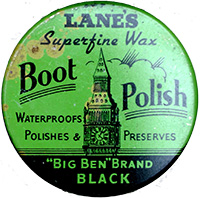
Leather polish is available in a variety of different colors. It helps to provide shine and resilience. Make sure to match the color of the polish exactly to the shade of the leather.
Even a slight difference in color can exacerbate the problem and make the scratches more noticeable.
When you apply the polish, buff it onto the entire boot. This will help to blend and mask the repair work. When you’re finished, you shouldn’t be able to notice the scratches at all.
Over time, you should also apply a conditioning product. Leather conditioner helps to keep the material supple and flexible. With regular applications, the leather will stay protected and decrease your chances of experiencing severe scratches and cracks.
Over to You
When it comes to your work boots, scratches and scuffs are inevitable. With that being said, you don’t have to settle for them.
By making simple repairs, you can restore your boots and make them look like new.


