Choose a Section:
- The Tools
- Preparing Your Face
- Applying Soap
- How to Hold a Straight Razor
- Shaving the Cheeks
- Shaving the Neck
- Shaving the Mustache
- Shaving the Chin
- After the Shave
The Tools
So you’ve decided to delve into the world of straight razoring. Before you do anything, you’ll need to get the right tools. With top notch tools, you’ll get a great shave and smooth skin. Not only that, but the tools will look awesome next to your sink.
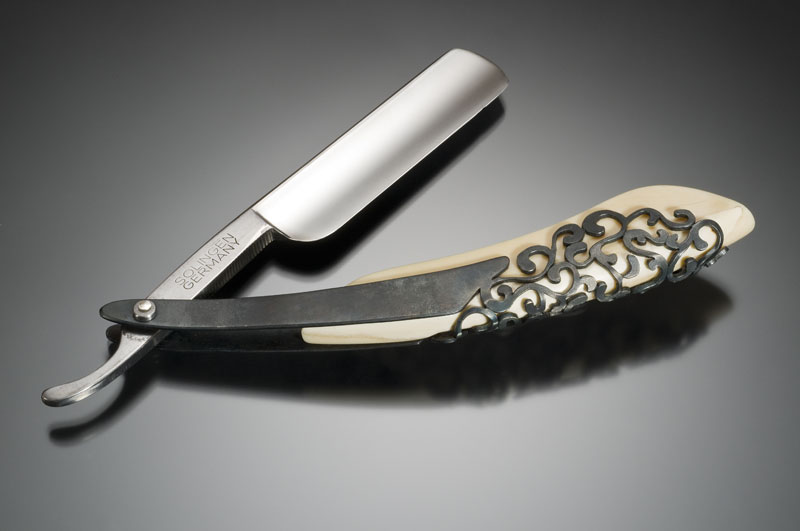
1, The Razor
A shave is only as good as the razor you use. It’s important to get the best razor possible.
Being stingy when buying a razor will only get you a subpar blade that will leave you with nicks and cuts.
Look at the razor as an investment you’ll use for years. You’ll want to find a high quality blade. Not only will it give you a great shave, but they can last a lifetime. A well crafted blade will be something that you pass on to future generations.
There are a few things to consider when purchasing a straight razor.
Quality of Steel. High quality steel will be able to sharpen evenly and effectively. This will prolong the life of the blade and ultimately give you a better shave. You can check the blade’s temper and quality by running the blade lightly across your fingernail. If it leaves a slight mark, it is a great quality blade.
Hollow of Blade.Hollowing puts a concave on either side of the blade, making it light and easy to handle. Different blades have a different degree of hollowing, so it is good to find one that is suitable for you and your face.
Width of Blade.Blades come in a lot of different widths. You want to get a blade that fits your face. A blade that is too wide will only be difficult to maneuver on the contours of your face.
Type of Blade.Blades can have either rounded or sharp points. Sharp points tend to be more difficult to handle. They are often used by highly experienced shavers. If you are just starting out, it is best to get a rounded point to ensure you don’t cut your face up
2, The Brush
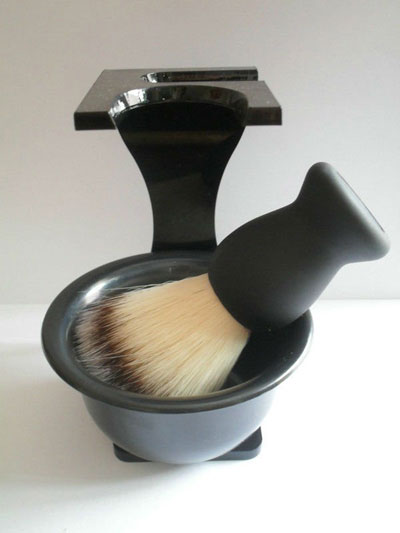
Brushes are the coolest part of the retro shaving experience. They help to lather up the shaving cream and prepare your beard for shaving. The fine bristles will stand you hair up, making it much easier to get a close shave.
Brushes come in a number of different materials, from synthetic to horse hair. However, one of the most widely loved brushes is made from badger hair. It produces a great lather while feeling great on your skin.
A great brush will help you get an awesome shave. Plus, it’s a cool addition to your shaving set up.
3, Shaving Cream or Soap
If you are using a can of aerosol shaving cream, you might as well not even be using a straight razor. These creams are just made from a bunch of chemicals and are doing a disservice to your skin. You should always invest in a high quality cream or soap.
They may cost more, but with a quality brush, they’ll last a long time. You can either get cream that comes in a tub or a bar of shaving soap that you’ll use with a bowl.
There are tons of options on the market for both varieties. Treat yourself and get a cream or soap with a great smell. Your skin will thank you later.
4, a Hone
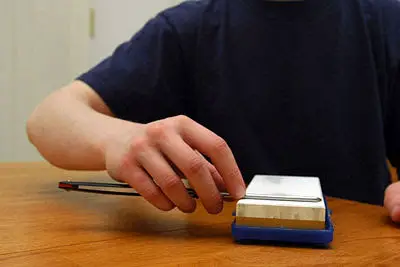
You’ll want to invest in a high quality hone to make sure that the blade is always at its sharpest. As you continue to use the razor, the blade’s edge will become dull.
To protect your mug, you’ll want to sharpen it regularly with a hone.
For the best quality, you can get a barber’s hone. They are specially designed stones to sharpen straight razors. However, they tend to be a bit pricey and difficult to find. For a more economical approach, you can always go with a woodworking whetstone with a grit combo of 4000/8000.
Woodworking whetstones can be found at a local hardware store, but they won’t deliver the high quality that a barber’s hone will.
5, a Strop
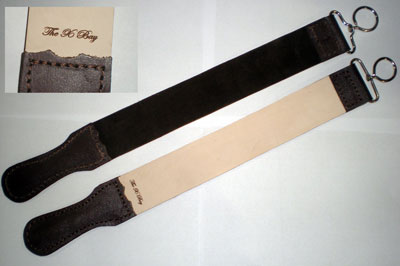
Honing alone will not sharpen your blade sufficiently. On a microscopic level, the blade will be irregular and rather jagged. To fine tune that sharpness, you’ll want to run it through a strop.
High quality strops have one side made of canvas and another made of leather. Don’t go with the cheapest strop you find!
The poor materials will only ruin that wonderful blade you worked so hard to sharpen. Find a high quality strop that will give you a lifetime of use.
You can find a good one over here
Preparing Section
Preparing Your Face
So you’ve got all the tools…what now? Before you go at your skin with the razor, you’ll want to prepare your skin and beard a bit. In terms of preparation, a little goes a long way.
The easiest way to prepare your face is by taking a shower. The warm water will soften your beard, resulting in a much closer shave.
For the best experience, put some hair conditioner in your beard once you enter the shower. After you’re done, the beard will be ultra soft and ready for shaving.
You can also use a towel soaked with hot water and apply it to your face for a few minutes if you are on a time crunch.
Lather It Up
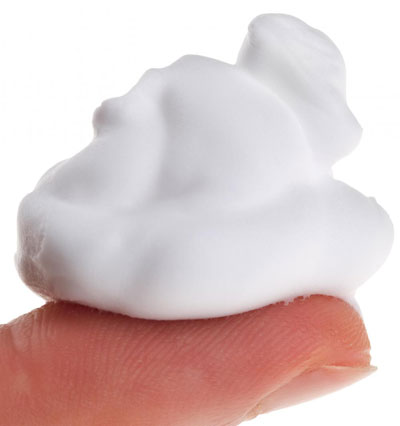
Now you are at the fun part. Applying soap or cream to your face can be a fun, but manly experience. If you are using cream, put a nickel sized portion at the bottom of your cup or bowl.
If you are using a soap bar, just put the bar into your bowl. Soak the brush in some hot water and remove any excess.
With a stirring motion, work up a lather. You’ll want to get as much volume and lather as possible. Then it is just a matter of applying it to the face. You’ll want to use circular motions when applying it.
Make sure that every hair is standing up. Once you’ve got an even layer of lather on your face, it is time for shaving.
Holding the Razor
If you are new to shaving with a straight razor, you may find holding the blade a bit confusing. There are actually many different ways to hold the razor.
In fact, experienced shavers actually change their grip based on how they are shaving. If you are just starting out, you’ll want to hold it with a basic grip.
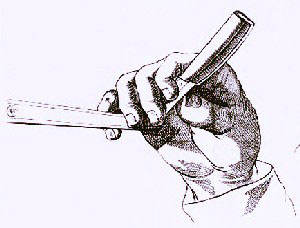
With your dominant hand, place your index, middle, and ring finger on the back of the blade. Then rest your pinky on the tang of the blade.
Finally, put your thumb on the side of the blade near the center. This thumb placement is what gives you control.
You can adjust the thumb based on the part of the face you are shaving. Ultimately, your grip will adapt and change with experience.
In the end it all depends on preference and control. Over time, you’ll find new ways to hold and position the razor.
Shaving Section
Shaving the Cheeks
To shave the cheeks, you’ll want to make your skin taught and smooth. To do this, take your non-dominant hand and stretch the skin. You can do this by reaching over your head and pulling up, or pulling to the side just above the ear.
If you trust the dexterity in your non-dominant hand, you can switch shaving hands and pull up by reaching over your head.
With the “over the head” method, simply hold the razor at a 30 degree angle and slide it down with the grain. As you cover the cheek, move your other hand down to keep the skin taught.
With the “pulling to the side” method, do the same motion as your other hand moves down your face to keep it taught.
Shaving the Neck
Getting a smooth shave on your neck is a bit trickier, as the skin is much more sensitive and prone to cutting. However, with patience and extra concentration, it can be done. You’ll want to shave the neck in three separate sections: left, center, right.
To shave the left side, just tilt you head back to the right. This will expose all of the left side of your neck. The same can be done with the right side by tilting to the left.
For the center, just tilt your head back. For every part of your neck, you’ll want to keep the skin taught by using your other hand to pull the skin down.
Alternatively, you can pull the skin up at the jawline to keep it taught. You’ll want to shave using the same motion as the cheeks. A 30 degree angle is the perfect medium for getting a close shave and keeping your skin safe from nicks and cuts.
Shaving the Mustache
The upper lip is quite simple. You’ll want to keep the skin tight by drawing the lips down, if needed with help from your non-dominant hand.
With a downward stroke, simply work your way across the upper lip to get a close shave.
Shaving the Chin
Shaving the chin can be a bit awkward. You’ll need to make a few funny faces to expose the skin. Pulling your lower lip up as high as possible will allow you to remove the whiskers under the lip.
It’ll also make your chin flat for a smooth shave. While it may seem a bit awkward, the fact that you’re using a straight razor will only make you look more manly.
After the Shave
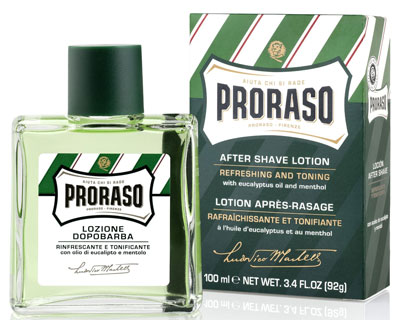
At this point, you should have smooth skin. Just rinse your face off with some cool water to remove the excess cream. Then you can apply some aftershave. Aftershave helps to soothe the skin and reduce irritation. Not only that, but it smells great.
There are a ton of great aftershaves on the market. You can get a nice rugged scent to assert your manliness.
Most cologne makers make aftershaves to make the skin look healthy while coordinating with your cologne. Either way, aftershave is a must.
After the aftershave has dried, you can apply a small amount of talcum power to the face. It’ll leave your skin feeling soft. After that, you’re done!
Feel accomplished and revel in the manly glory of your first shave with a straight

